
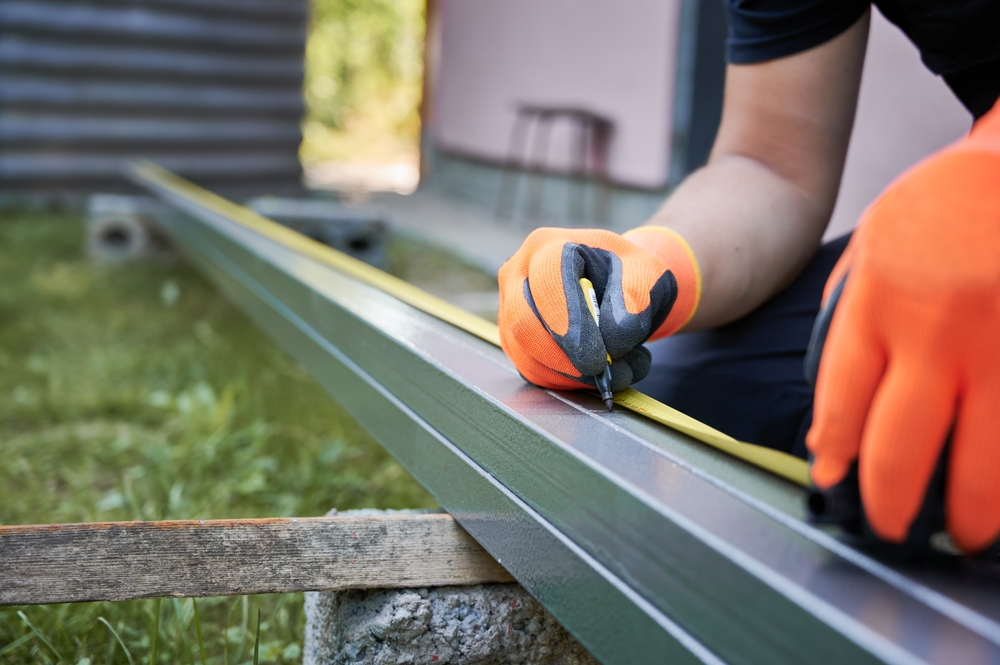
Metalex Inc. often receives calls from homeowners asking how to measure for metal railings before they ask for a design. It is a smart question, because accurate numbers keep a project moving and prevent guesswork on site. This guide walks through the measurements that matter for stairs, balconies and landings, plus the mistakes that throw them off. You will also find a printable-style checklist you can follow with just a tape measure and a notepad.
Why Measurements Come Before Design
A custom railing is built to fit one specific space. Walls are rarely perfectly straight, floors are rarely perfectly level, and stairs often vary by a few millimetres from step to step. A fabricator who works from rough numbers must either leave generous gaps or fix problems on site.
Good measurements let the shop cut and weld components accurately in a controlled setting. That means a tighter fit, fewer adjustments during installation and a cleaner finished look. In most cases, a professional will still verify your numbers with a site visit, so think of your measurements as a strong starting point. Learning how to measure for metal railings also helps you describe your goals clearly. You can say, for example, that the stair is 1.1 metres wide and climbs about 2.7 metres, which tells the shop far more than "a standard staircase."
Tools and Prep Before You Start
You do not need special equipment. A few simple items make the job easier and more accurate.
- A steel tape measure at least 5 metres long
- A pencil and graph paper, or a notes app
- A spirit level or a level app on your phone
- A phone camera for reference photos
- A helper to hold the other end of the tape
Clear the area first. Move planters, furniture and mats so you can reach edges and corners. Take photos from several angles before you measure, because they help you spot obstacles like windows, radiators and door swings.
How to Measure for Metal Railings on Straight Stair Runs
Stairs are the most common request, so start here. The goal is to capture length, height and the slope of the climb.
1. Measure the horizontal run from the first riser to the last riser, along the outer edge of the steps.
2. Measure the vertical rise from the floor at the bottom to the floor at the top.
3. Record the width of the stair, wall to wall or wall to open edge.
4. Note where the railing will attach: stringer, tread ends, wall or floor.
5. Measure the nosing overhang, which is how far each tread projects past the riser.
Take the run and rise measurements twice, and mark each reading on your sketch as you go. If the two readings differ by more than a few millimetres, measure a third time and note the range. Variation is normal, and your fabricator will want to know about it. A note such as "third step 5 mm deeper" can save a return trip.
Reading the slope of your stairs
Most stairs climb at a steady angle. If you divide total rise by total run, you get a rough slope. Any step that breaks the pattern, such as an unusually tall first riser, should be marked on your sketch.
How to Measure for Metal Railings Around Landings and Balconies
Flat areas call for different numbers. Instead of slope, you now care about perimeter and corners.
Measure each straight edge separately, from post location to post location. Draw a simple plan view and label every length. Mark each corner with its angle, using a square for 90-degree corners and noting anything that is not square.
For balconies, record the height of the existing floor above grade as well. Guard requirements often change with height above ground, so your fabricator will need that figure. Also note the surface where posts will mount, such as concrete, wood framing or stone. Different surfaces need different anchoring methods.
Measurement Cheat Sheet
This table pulls the key numbers into one place. Use it as a quick reference while you walk the space.
| Location | What to measure | Why it matters |
|---|---|---|
| Straight stairs | Total rise, total run, stair width | Sets rail length and angle |
| Top landing | Edge lengths, corner angles | Defines posts and turns |
| Balcony edge | Length, height above grade | Determines guard design |
| Mounting surface | Material and thickness | Chooses the anchor type |
| Obstacles | Door swings, windows, vents | Prevents clashes after install |
Common Measuring Mistakes to Avoid
Most errors come from small oversights, not bad maths. Knowing the usual traps helps you avoid them.
- Measuring along the wall instead of the rail line. The rail follows the stair edge, which may differ from the wall.
- Forgetting finish thickness. New flooring, tile or a carpet change can alter heights after you measure.
- Ignoring out-of-square corners. Even a small angle error causes a visible gap in a long run.
- Skipping the mounting surface. A railing is only as secure as the material it anchors to.
- Rounding too early. Write down exact figures and round later, if at all.
If your home is older, take extra care. Walls shift over time, and original stairs may not match modern dimensions. Our article on safer railing details for older homes shows how those quirks affect design.
What Happens After You Send Your Numbers
Once you share your measurements and photos, the next step is usually a conversation about style, finish and function. The details you gathered make that discussion more productive, because options can be tied to real dimensions.
A site visit then confirms critical numbers and checks hidden conditions like wall construction. From there, drawings are prepared for approval. You can see the range of styles available on our interior metal railings page or the outdoor railing installations article.
Remember that safety rules apply to every railing. Guard height, baluster spacing and load requirements come from the Ontario Building Code, which you can read in the provincial regulation. We design to those rules, and an honest quote is given after assessment.
Frequently Asked Questions
Do I need to know how to measure for metal railings before I call?
Approximate numbers are enough to start a conversation. A site visit confirms the details before anything is built. Photos and a rough sketch speed up the process considerably.
How accurate does my measuring need to be?
Aim for the nearest millimetre or sixteenth of an inch, and write numbers down immediately. Small errors add up across a long run. Your fabricator will double-check critical dimensions on site.
Should I measure before or after new flooring is installed?
Measure after the final floor surface is known, or note the planned thickness. Flooring changes can alter rail height and post mounting. Sharing that information early avoids rework.
Can I measure a curved or angled stair myself?
You can gather basic lengths and photos, but curved stairs usually need a professional template. A site visit gives the fabricator the exact geometry. Your notes still help by showing what you want to achieve.
Contact Metalex Inc.
Questions about measuring, or ready to book a visit? Reach us directly.
- Phone: (647) 969-3759
- Address: 124 Connie Crescent Unit # 6, Vaughan, ON L4K 1L7
- Hours: Monday to Friday, 8:00 a.m. to 5:00 p.m.